How to Add Live Chat to Your Website (Any Platform, 2026)
The five-minute install on every major platform, from each platform's own docs, plus the setup that gets every chat answered: hours, consent, speed, testing.
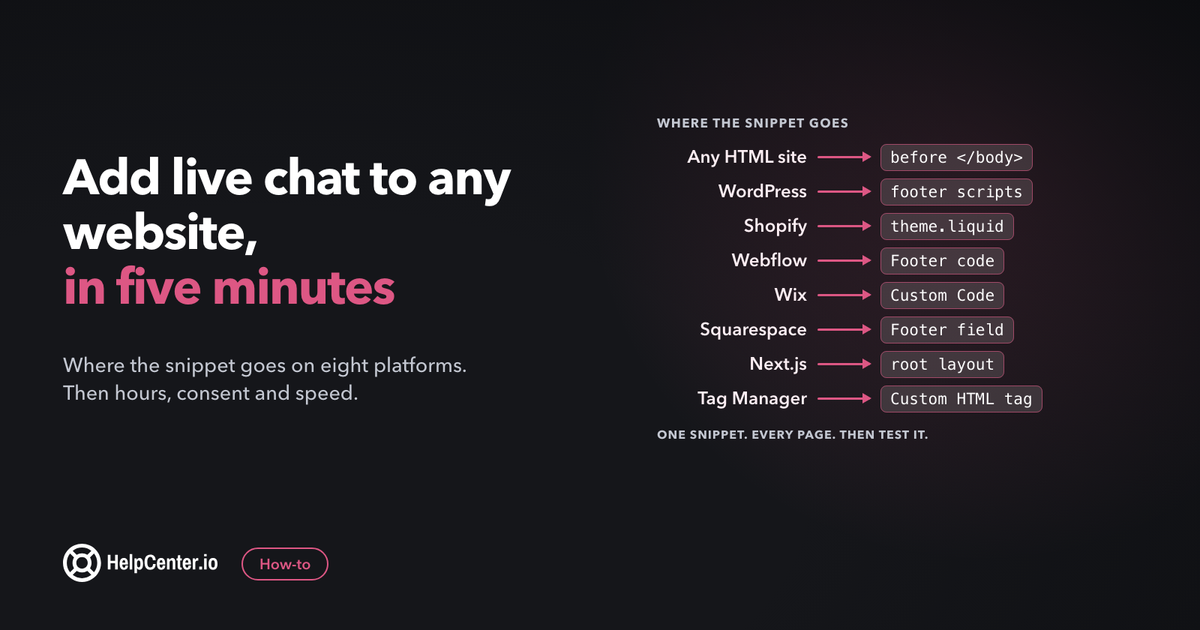
You can have live chat working on your website this afternoon, and the install itself takes about five minutes: pick a chat tool, copy its script snippet, paste it just before the closing </body> tag on every page (or into your site builder's footer code setting), then publish and test it on your phone. The rest of the afternoon goes on the part that decides whether chat actually helps: who answers, when, and what happens when nobody is online.
This guide walks through both halves. It covers the install for plain HTML, WordPress, Shopify, Webflow, Wix, Squarespace, React and Next.js apps, and Google Tag Manager, with the exact menu paths from each platform's own documentation. Then it covers consent, page speed, testing and the first 30 days.
We make HelpCenter.chat, a live chat tool with a free plan, and we use it as the example where an example helps. Every step here works the same way with any chat tool that gives you a script snippet. If you have not picked a tool yet, start with our comparison of live chat software for small businesses, then come back.
What to decide before you paste anything
The snippet is the easy part. Teams that regret adding chat usually skipped one of these four decisions, so make them first. Ten minutes here saves you from a widget that greets visitors and then leaves them waiting.
- Who answers, and from where. Name the people. On a two-person team that might be the founder on weekdays and one support lead in the evenings. Put the chat app on their phones as well as their laptops, so a reply does not depend on someone sitting at a desk.
- Your hours. Decide when chat is staffed and write it down. Visitors forgive "we reply within a few hours" far more readily than silence behind a green "online" dot.
- The offline path. Outside those hours, the widget should collect an email address and promise a reply by a specific time, or point visitors to your help center. Never leave the box open with no one behind it.
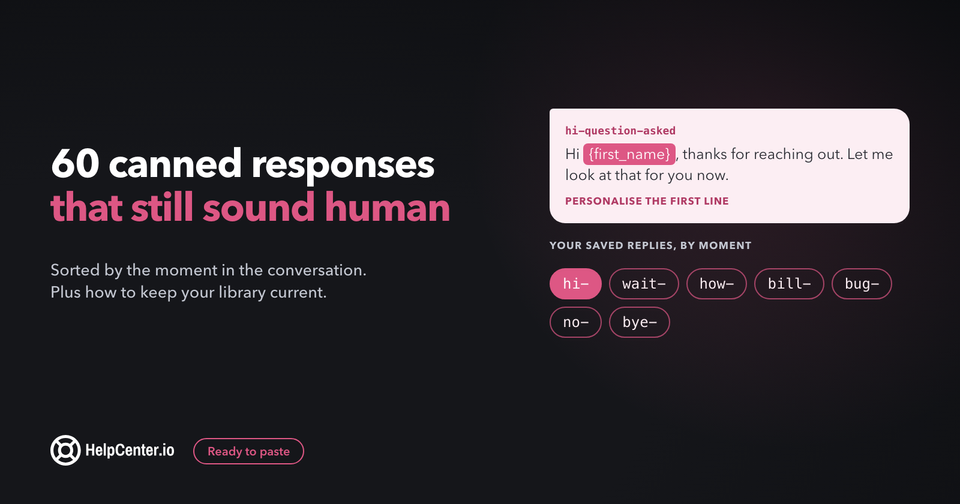
- The ten questions you will get. List the questions your inbox already sees most: pricing, refunds, how to cancel, a common setup step. Write a short saved reply for each, and link the matching help article if you have one. Our guide to canned responses has templates you can adapt.
Also decide which pages get chat. Most small teams put it everywhere. Some leave it off the blog and keep it on pricing, signup and the app, where questions turn into customers. One snippet sitewide is simplest, and most tools let you hide the launcher on specific pages later.
How to add live chat to any website with a script tag
Almost every live chat tool installs the same way: you get a short block of JavaScript from the tool's settings and paste it into your site's HTML. It loads the chat launcher (the bubble in the corner) and the chat window on top of your page.
Here is what HelpCenter.chat's snippet looks like. Yours will carry your own workspace's embed ID in place of the placeholder:
<script>
  (function(h,c){var s=h.createElement('script');s.async=1;
  s.src='https://my.helpcenter.chat/widget/w.js';s.setAttribute('data-embed-id','YOUR-EMBED-ID');
  h.head.appendChild(s);})(document);
</script>
To install a snippet like this on a site where you edit the HTML yourself:
- Sign up for your chat tool and copy the snippet from its install or channel settings. With HelpCenter.chat, the snippet is in your workspace once you create it, and it is the same for every page of your site.
- Open the template or layout file that every page shares. On a hand-built site that might be a footer include. On a static site generator it is usually the base layout.
- Paste the snippet just before the closing
</body>tag. Placing it last means your own content renders first. - Save, deploy and open the site in a private browser window. The chat launcher should appear within a few seconds.
- Send yourself a test message and reply to it from the chat app, so you have seen a full round trip before a customer does.
Two details are worth checking in whatever snippet your vendor gives you. First, it should load asynchronously (the async attribute, or a loader that adds the script with async as above), so a slow chat server can never hold up your page. Second, paste it once, in the shared layout. Pasting it into individual pages leads to pages that were forgotten and, on some setups, two copies of the widget fighting each other.
If your vendor offers a domain allowlist, use it, and add every domain you serve the site from, including staging, before you turn it on. A widget restricted to one domain simply does not appear on the others, which is easy to mistake for a broken install.
Platform by platform: where the snippet goes
Site builders and e-commerce platforms give you a settings field for this, so you rarely need to touch a theme file. The menu paths below come from each platform's own help pages.
WordPress
You have three routes, in order of preference:
- Your chat vendor's WordPress plugin, if it has one. It adds the snippet for you and survives theme changes. (HelpCenter.chat has no WordPress plugin; you paste the snippet using one of the next two routes.)
- Your theme's or a header-and-footer plugin's "footer scripts" field. Many themes have one, and general-purpose code-snippet plugins add one. Paste the snippet into the footer field and save. Before you install a plugin for this, check its page on wordpress.org for recent updates and active installs.
- Editing the theme file directly (Appearance, then Theme File Editor, then the footer template), only if you know why you are doing it. The WordPress documentation is blunt about the risks: "The editor does not make backup copies." It also warns that "If you update the theme all of your changes will be lost," and recommends a child theme. In practice, a footer-scripts field is safer for a one-line snippet.
Shopify
If your chat tool has a Shopify app, install the app and switch on its app embed in the theme editor. For a plain snippet, add it to your theme's layout file:
- From your Shopify admin, go to Online Store.
- Duplicate your current theme first. Shopify's own guidance is to "Duplicate your theme to create a backup copy."
- On the live theme, open the three-dot menu and choose Edit code.
- In the Layout folder, open
theme.liquid. Shopify's developer docs describe it as "The default layout file, which must be included in all themes". - Paste the snippet just above
</body>and save.
Theme updates can replace theme.liquid, so re-check the chat widget after you update or switch themes.
Webflow
- Go to Site settings, then the Custom code tab.
- Paste the snippet into the Footer code section. Webflow says code there "appears before the closing </body> tag in your site’s HTML markup and applies to your entire site."
- Click Save changes, then publish the site. Custom code shows in preview, but Webflow notes it won’t go live "until your site is published."
Custom code needs the right plan. Webflow's help center says you can add it "If you have a Core, Growth, Agency, or Freelancer Workspace, or if your site has an active Site plan".
Wix
- Make sure your site is published and has a connected domain. Wix lists this under "Before you begin".
- In your site's dashboard, go to Settings, then Custom Code in the Development & integrations section.
- Click + Add Custom Code and paste the snippet. Under Add Code to Pages, choose All pages, and load it on each page your visitor opens rather than once per visit.
- Under Place Code in, choose Body – end, then click Apply.
Squarespace
- Open the Code Injection panel.
- Paste the snippet into the Footer field. Squarespace says code there "is injected before the closing </body> tag on every page".
- Save.
Check your plan first: Squarespace says "Code injection is available in the Core, Plus, Advanced, and some legacy billing plans".
React, Next.js and other single-page apps
In a single-page app, the page never fully reloads when visitors move around, so the rule is to load the chat script once, at the top of the app, and let it persist across route changes.
- Next.js: add the script with the built-in
Scriptcomponent in your root layout, not in individual pages. The default strategy,afterInteractive, will "Load early but after some hydration on the page occurs." For chat,lazyOnload("Load during browser idle time") keeps it off the critical path. - Other React apps and Vue or Svelte: put the snippet in the static
index.htmlshell before</body>, or inject it once from your root component. Guard against double-loading in development, where hot reloads and strict-mode double renders can run your effect twice. HelpCenter.chat's loader already ignores a second copy on the same page. - Logged-in apps: most chat tools can attach the signed-in user's name and email to the conversation, so your team does not have to ask "what's your account email?" Check your vendor's docs for its identify call, and verify the user on the server side where the vendor supports it.
Google Tag Manager
If your marketing team already manages scripts in Google Tag Manager, you can add chat there without a developer:
- Create a new tag. Google's instructions: "Click Tag Configuration and select Custom HTML," then paste the vendor's code into the HTML field.
- Click Triggering and choose a page view trigger for all pages. Window Loaded "Fires after the page has fully loaded, including any embedded resources such as images and scripts," which suits chat.
- Click Submit at the top right, keep Publish and Create Version selected, and click Publish.
Two cautions. Google notes that "Tag Manager minifies the code for Custom HTML tags and this can change single quotes to double quotes," so test the widget after publishing. And if your consent banner runs through Tag Manager, tie the chat tag to the right consent state, or it may never fire for visitors who decline cookies. That is the next section.
Privacy, cookies and consent
A chat widget stores something in the visitor's browser so a returning visitor can see their conversation. In the EU and UK, the consent rules for that are not limited to cookies. The European Data Protection Board's guidelines on Article 5(3) of the ePrivacy Directive name "cookies, local storage, WebSQL" among the technologies in scope.
The same article exempts storage that is "strictly necessary in order for the provider of an information society service explicitly requested by the subscriber or user to provide the service." Whether your chat widget fits that exemption depends on how it loads. A widget that only starts when a visitor clicks a "Chat with us" button is easier to argue as requested than one that loads on every page view and opens with a proactive message. This is not legal advice: ask whoever owns your consent setup, and check three things with your vendor before launch.
- What the widget stores. Ask for the list, or look in your browser's developer tools under Application, then Storage, after a test chat. HelpCenter.chat's privacy page says "The messenger uses browser storage to maintain its visitor session and conversation continuity." In practice that means local and session storage entries, and its widget script does not set cookies itself.
- Where messages are stored and who processes them. You will need a data processing agreement with the vendor if you serve EU or UK visitors.
- How it behaves when consent is declined. Either the widget waits for consent, or you replace it with a plain "Contact us" link for visitors who decline. Test both paths.
Add the chat tool to your privacy policy's list of processors on the day it goes live.
Keep chat from slowing your site
Chat widgets are JavaScript, and some are heavy. You do not need to guess about the cost: measure it.
- Before you install, run PageSpeed Insights on your three most important pages (home, pricing, signup) and note the mobile scores and Largest Contentful Paint.
- Install the widget and run the same pages again.
- If the numbers moved noticeably, load the widget later:
lazyOnloadin Next.js, a Window Loaded trigger in Tag Manager, or a small "Chat with us" button that loads the full widget only when clicked.
Also look for layout shift. The launcher should float over the page, not push your content around when it appears. A widget that renders in its own isolated container avoids the most common styling conflicts. HelpCenter.chat's messenger is built this way, isolated from your site's styles.
Set it up so every chat gets an answer
A live chat that goes unanswered does more harm than no chat at all, because it tells a ready-to-buy visitor that nobody is home. Before you announce it:
- Set your hours and away message in the chat tool, matching what you decided at the start. Show expected reply times outside those hours.
- Turn on notifications on every teammate's phone and laptop, and send a test chat to check that they actually fire.
- Add your saved replies for the ten common questions.
- Route conversations if more than one person answers: by page (pricing questions to sales), by language, or round-robin. On a small team, a shared inbox where anyone can pick up a chat and assign it is often enough.
- Offer answers before a human. If you have a help center, connect it so visitors can search articles inside the chat window while they wait. On HelpCenter.chat, connecting a HelpCenter.io help center is optional and works on the free plan; AI answers from Orelvi are paid, from $29 a month, and you can try them first with a small one-time trial that needs no card. Our post on chatbot vs live chat covers when an AI first reply helps and when it gets in the way.
Test before you tell anyone
Spend fifteen minutes on this checklist before you announce chat to anyone:
- Desktop and mobile, in a private window, logged out. Does the launcher appear, and does it cover your cookie banner, a "Buy" button or a mobile menu?
- With your consent banner declined. Does chat still work, wait politely, or fall back to a contact link as you intended?
- With a common ad blocker switched on. Some block chat scripts; make sure your contact page still offers email.
- Every domain and subdomain you use, including your app and checkout if they are separate.
- A full conversation: send from the site, reply from the app, close the tab, return later and check that the history is still there.
- The offline path: send a message outside your hours and confirm that the email capture works and reaches your inbox.
What to measure in the first 30 days
Chat earns its place when it answers questions that would otherwise have become lost signups or support emails. Track a few numbers from the start, most of which your chat tool reports:
- Conversations per week, and which pages they start on.
- First response time during your hours. Minutes, not hours, is the point of live chat.
- Missed or unanswered chats. If this number is not close to zero, shorten your hours or improve your offline path before you promote chat any further.
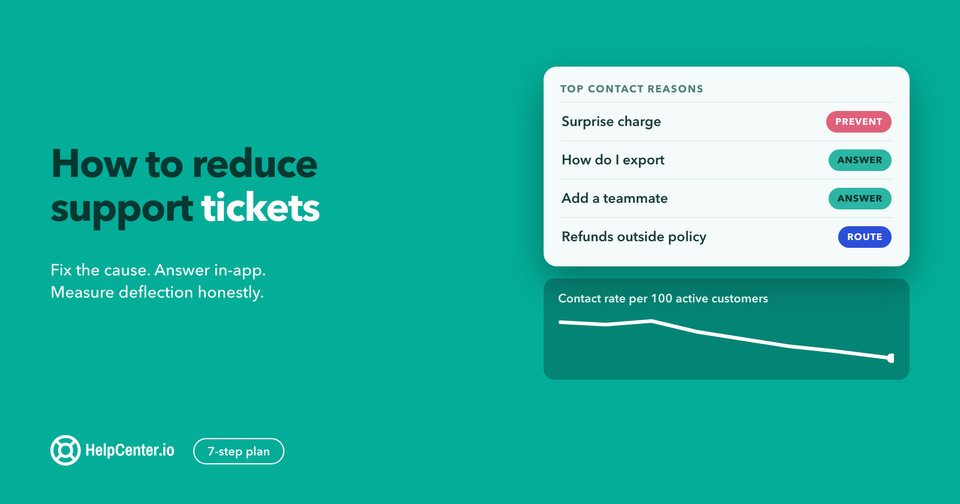
- The top questions. Each repeated question is a help article waiting to be written. Our guide to reducing support tickets shows how to turn chat transcripts into self-service answers.
After a month, revisit the decisions from the top of this guide. Most teams adjust their hours and which pages show chat, and that small change is often what turns chat from a cost into a source of customers.
Can you add live chat for free?
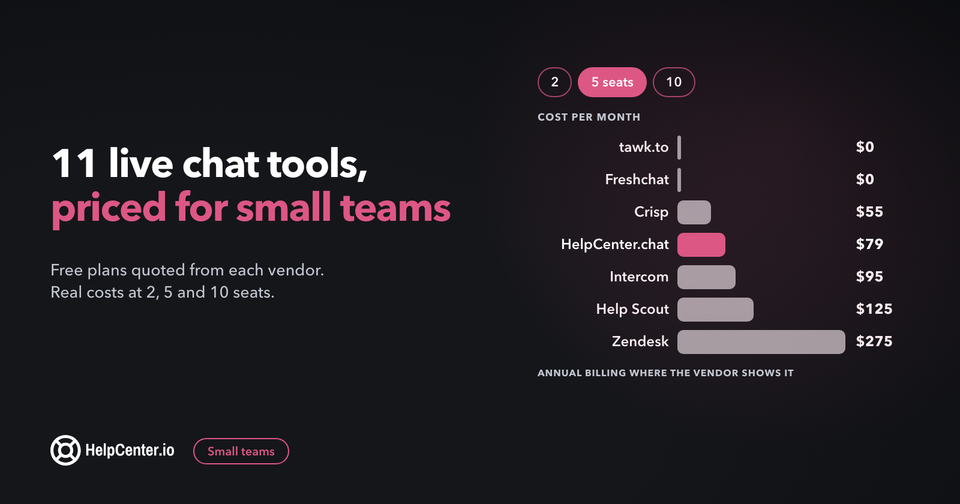
Yes. Several tools have free plans, though the limits differ a lot: some cap seats, some cap conversations, and some show their own branding. Our live chat software comparison lists the free tier of each tool we tested, with the limits quoted from each vendor's pricing page.
For transparency, here is ours. HelpCenter.chat's free plan includes "2 team seats per workspace" and "100 new conversations per monthly usage period", with a website messenger and shared inbox, saved replies, automations and reports. "Human chat does not expire," no credit card is needed, and "A HelpCenter.io subscription is not required for human chat." When you reach the conversation allowance, new conversations pause until it resets, and existing threads stay available. The details are on the HelpCenter.chat pricing page.
Frequently asked questions
Can I add live chat to my website without coding?
Yes, on most site builders. On Webflow, Wix and Squarespace you paste the chat tool's snippet into a settings field (footer code, custom code or code injection), and on WordPress you can use a footer scripts field or the vendor's plugin. On Shopify, use the vendor's app if it has one; otherwise you paste one snippet into theme.liquid. Some platforms limit custom code to paid plans.
Where do I paste the live chat code?
Just before the closing </body> tag, once, in the layout that every page shares. On site builders, use the footer code field, which places it there for you on every page.
Will live chat slow down my website?
A well-built widget loads asynchronously and has little effect, but measure it. Run PageSpeed Insights on your key pages before and after installing, and if scores drop, load the widget later or only when a visitor clicks a chat button.
Does a chat widget need cookie consent?
It can. EU and UK consent rules cover local storage as well as cookies, with an exemption for storage that is strictly necessary for a service the visitor explicitly requested. Check what your widget stores and how it loads, and ask whoever owns your consent setup.
How do I add live chat to WordPress without a plugin?
Use your theme's footer scripts setting if it has one. Otherwise, edit the footer template through a child theme, because WordPress warns that theme updates overwrite direct edits and the editor does not make backups.